
Is there anything more frustrating than opening your dishwasher after a full cycle and finding residue on glasses, food still stuck to a pan, or dishes that smell vaguely like whatever was in there before? It feels like the machine let you down or that you did something wrong.
Most of the time, it didn’t! Our team at Dick Van Dyke Appliance World hears this one all the time — and nine times out of ten, the fix has nothing to do with the appliance itself. Modern dishwashers are built to clean effectively, but it depends on how they’re loaded to do it. We’ve put together a checklist for before your next load, and we’re positive you’ll notice a difference!
Step 1: Scrape It — But Skip the Pre-Rinse
This surprises a lot of people! Scraping off food before loading is absolutely necessary, but thoroughly rinsing dishes under the faucet first actually works against how modern dishwashers operate. Today’s machines rely on a small amount of food residue to activate the detergent enzymes properly. Remove the chunks and let the machine handle the rest.
Step 2: Load the Bottom Rack for Coverage, Not Capacity
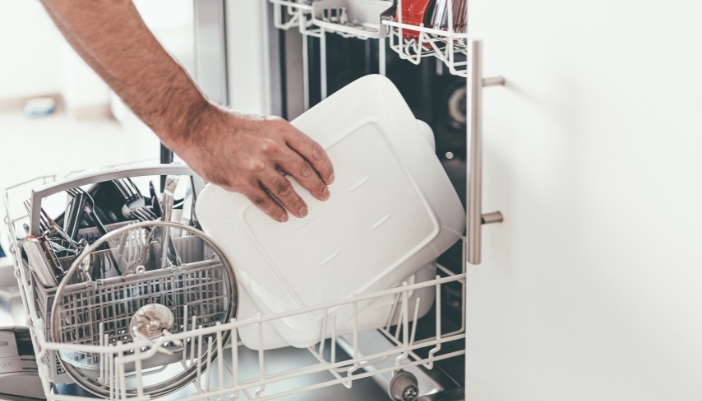
The bottom rack handles your largest, most heavily soiled items — dinner plates, pots, pans, and larger bowls. The goal here is spray coverage, not squeezing in as much as possible. Angle plates toward the spray arm, keep larger items on the sides and back, and make sure nothing is nesting flat against something else.
Pro Tip:
Give the spray arm a quick spin after loading the bottom rack. A tall pot handle or lid at the wrong angle can block it from rotating, and catching that early saves a full cycle’s worth of frustration.
Step 3: The Top Rack Is for Everything Fragile
Cups, glasses, mugs, bowls, and lightweight plastics all belong on the top rack. Position cups and glasses upside down and at a slight angle, so water drains off instead of pooling inside them. Plastics go on top specifically to keep them away from the heating element at the bottom of the machine, which can warp them over time.
Step 4: The Utensil Basket Has More Strategy Than You’d Think
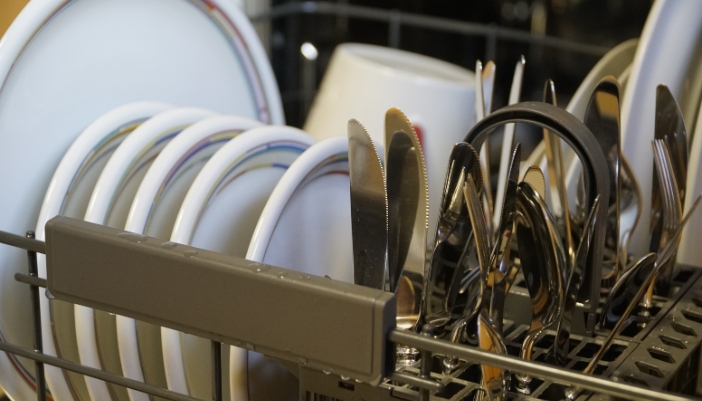
Spoons nest together when they face the same direction — and nesting means the surfaces between them never get clean. Mix handle-up and handle-down items to break up the pattern (sharp knives are the exception, always handle-up for safety). Large serving utensils that don’t fit in the basket should lie flat on the top rack instead.
Step 5: Use the Right Amount of Detergent — Not More
Overfilling the detergent compartment is one of the most common dishwasher mistakes, and it tends to leave residue rather than remove it. Fill to the recommended line, use rinse aid to improve drying and prevent water spots, and choose your cycle based on what’s actually in the machine. Not everything needs the heavy-duty setting! Or, make it all easier for you, and switch to pods!
Step 6: Do a 10-Second Check Before You Hit Start
Once everything is loaded, it takes about ten seconds to confirm the spray arm can spin freely, the door latches fully, and no small items (bottle caps, small lids, or stray utensils) have fallen through the rack to the bottom of the machine. It’s a small habit that can catch most loading problems before the cycle even begins.
Clean Dishes Were the Goal All Along
Once you know what the machine actually needs from you, loading the dishwasher stops feeling like guesswork — and the results show it. If you’ve been wondering whether it might be time for an upgrade, or you want to know what features in today’s dishwashers make loading even more flexible, stop in and ask our team at Dick Van Dyke Appliance World. We’re happy to walk you through what’s out there!